As some of you are already aware of, Wikia has recently introduced a new feature which allows its users to create interactive images, by utilizing default templates already provided to wikis, or by uploading new template images you might have tucked away in the depths of your computer. What is the benefit of using this feature over image mapping? Image mapping requires its creator to discern very specific coordinates for wherever they want a redirect, making image mapping a very tedious process that gets more and more complicated for large images. With the new interactive map feature we have, the process has been simplified to the point where you simply drag a waypoint onto the image, and add in as much text, map icons, and redirects as your heart desires!
Still unsure of how to take advantage of this new feature? Look no further, as I will help you out by providing a step-by-step tutorial which will see to you creating your own interactive maps in no time!

Step 1: Where do I go?
By visiting this page, not only will you find where to utilize existing templates as well as where to upload your own, but you can also discover other maps that our editors have created! Please see to this image to discover where to go to being the interactive map making process:
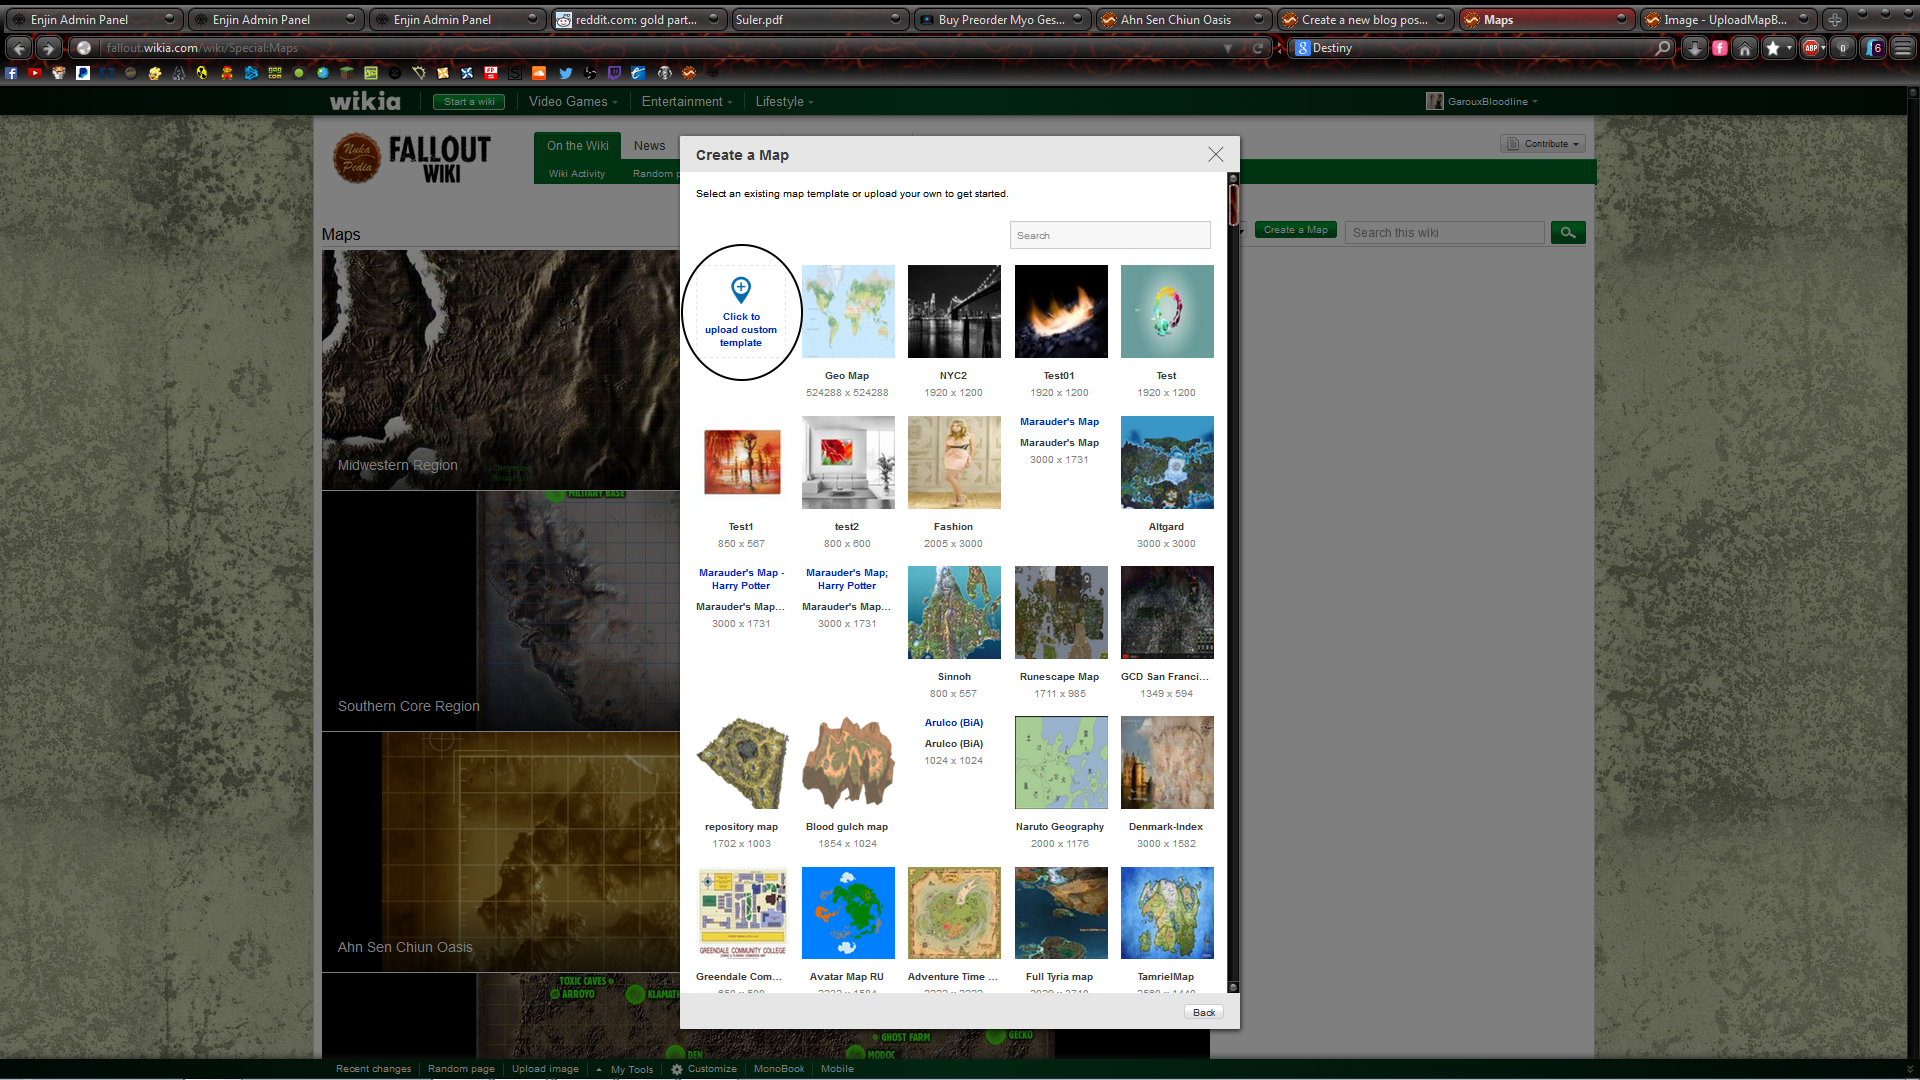
Step 2: Uploading a template
After clicking the Create a Map button, you will be met by a choice: do you want to create a real map, or a custom map? After making your decision, based on personal choice, you will be met with a default templates menu, as well as an option to upload your own menu. Should you be interested in one of the default templates, then you are good to go! If you are more interested in creating a custom template, then make sure your template is in an easy to find location, and click the option that says Click to upload custom template. After creating your map, you will need to follow a couple of minor options in the form of naming your map, and setting a parent category.


Step 3: Creating pins and pin categories
The parent pin category will refer to the map itself, and creating other pins will require the creation of other sub-pin-categories. I am going to show an example of this by placing a location pin for Big Town. Please note that when setting the associated article field, to only use article that exist on this wiki. Try and use a page that does not exist on Nukapedia, and you will be met with an error message!
- Edit your filters
- Click Add Another Pin Category.
- Bring down the drop-down menu found underneath 'Parent Category', and select 'Location'. Name this location Big Town.
- (Optional) Upload an image that best suits your location pin. I will be using this image in my example.
- Save your new Location pin category.
- On the bottom right corner of your map, you will see 4 different options to choose from. Click the Draw a marker option (do not attempt to drag), and then click the space where you want Big Town to be.
- Fill out each respective field. For our example location, please see image #1 for specific details.
- You are finished! At this point, you simply rinse & repeat, creating new pin categories and icons to help flesh out your map legend. Should you wish to hide a group of pins at any given time, simply click their respective pin category on the map legend.
If there are any questions, please do not hesitate to ask! Until then, I hope everyone has found this guide helpful, and I hope to see our users take full advantage of this amazing new Wikia feature.